I do own a ruffler (Thanks HeatherSue) but for some reason it has never seen much action. Hopefully one day I'll get to try it out!
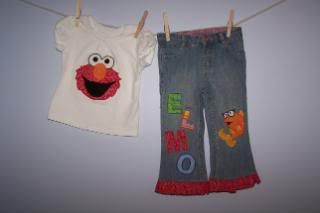
Now, on with the show! Today I'll be adding a ruffle to a pair of jeans. Here is a picture of what the finished result will look like.
First off you need a pair of jeans. I then cut them off right above the hem line. Make sure to cut straight and so both sides are even (front and back and both legs of the jeans). This is the result you should have.
Just for reference, these are sized 24 months.
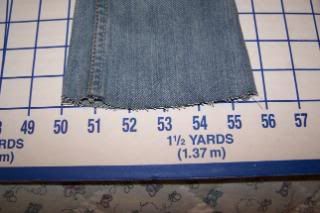
At this point you need to figure out how long to make your ruffle and cut the fabric to that length. Measure the bottom all the way around. I tend to round off to the nearest inch usually to make my math easy. As you can see the leg front is almost 6 inches. I like to do about 2 1/2 times the ENTIRE area that will have a ruffle on it. So the leg is really 12 inches around. Multiply 12 x 2.5 = 30 inches.
I made these 4 inches wide, folded in half = 2 inches and with all the dental floss and attaching them they will be a bit longer then an inch when finished. You'll need to adjust your length for the size pants and desired length of the ruffle.

It is easiest to use a rotory cutter and self healing mat. Cut on a hard surface. I tend to use my kitchen floor or table. As you can see the mat has little measurements on it to make your life easy.
If for some reason your ruffle will be longer then 44 inches (the length of fabric most of the time) just cut 2 pieces and sew right sides together. Iron open at seams and follow directions from here.
Make sure you cut 2 pieces. One for each leg.
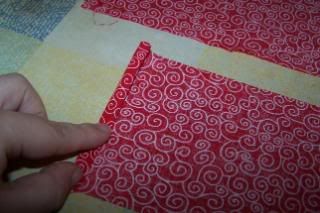
Next up I fold in the ends just a bit and sew. I have no idea why I do ruffles for jeans differently then for a dress but I do. On a dress it would sew both sides together to make one continuous piece of fabric.
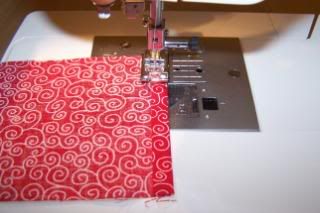
Use a straight stitch to stitch down. Do this with all four ends.
Next you want to fold wrong sides together and iron. Giving you this result.
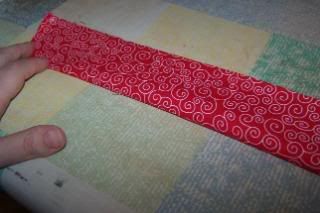
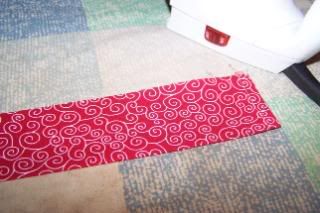
You are now ready for the actual ruffling. Get some dental floss. I have used several different brands. They tend to all work. Just don't get a flavored one.
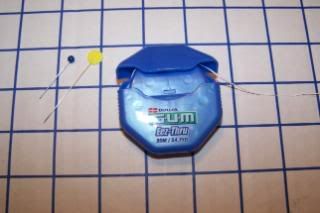
You'll also need several pins. Either style will work. I tend to use the yellow quilters pins now. They are longer and lay flat and I just like them better.
Take the dental floss and wrap it around the end of the pin several times. The more you wrap the less likely you have the chance of it unwinding. I have also recently started making a loop to slip the end of the pin through. That way if it does unwrap you don't lose your ruffle. Once you have it wrapped stick the pin into your fabric at the very end and get ready to sew.
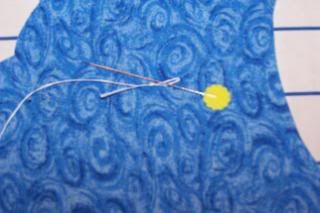
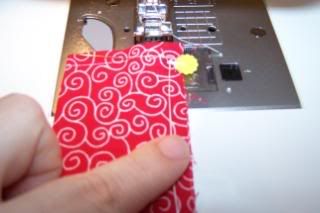
Use a zigzag stitch to sew. Your goal is to sew OVER the floss and NOT to catch it. If you catch it you will not be able to pull the ruffle at that point. You can use as wide and as long of a zigzag as you like. I tend to make mine super wide.
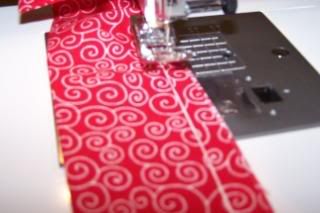
Hopefully you can see it in that picture.
Sew the entire length of the ruffle, zigzagging over the floss the entire way. When you get to the end it should look like this.
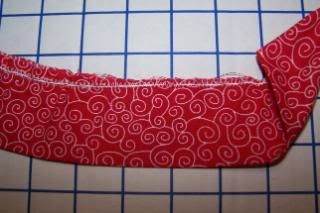
At this point you need to pull on the floss to make it ruffle. So I usually help the fabric along while pulling the floss. You want to pull it as tight as your piece is you are going around (remember mine was 12 inches).
Eventually your piece should look like this.
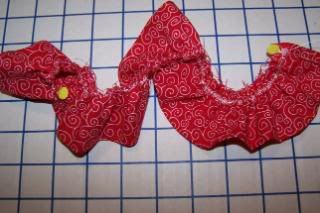
At this point I measure it around the bottom of the leg and make any adjustments as far as the length. Take a pin and wrap the end of the dental floss around it just like you did at the beginning. This holds your ruffle. I then even out the ruffle.
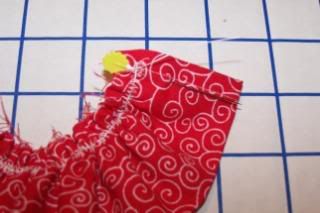
Once you have it even you are ready to attach the ruffle to the jeans. Make sure your jeans are right side out, otherwise your ruffle will be backwards.
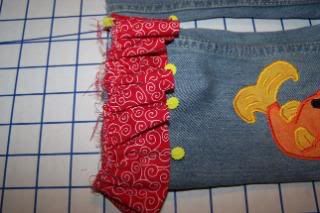
Pin all the way around the jeans. Pin often to get the ruffle to hold nice and to go on evenly. I match up the bottom of the jeans with ruffle. The ugly part will be matched up with the bottom. The folded over nice part of the ruffle should be at the top.
A slight overlap won't hurt anything and will assure that you don't get a gap.
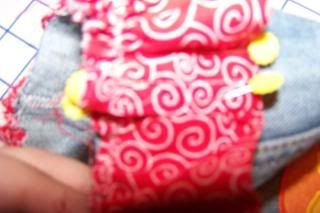
Make sure to pin close to the beginning and end of the ruffle. At this point pull out your yellow pins that you attached the floss to the slightest bit. Otherwise you'll end up sewing through the yellow part. Yep, the machine will sew right through it without skipping a step.
This part was a bit tricky with this brand of jeans (osh kosh) but usually I have no issues. Slide the end over the end of your machine and stitch using a straight stitch. I stitch just above the top zigzag. I am not interested in pulling out all those stitches and this way I can just leave them there or cut them off (the serger usually handles that part easily enough).
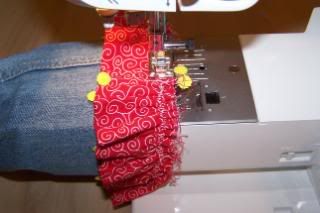
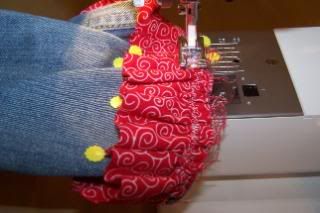
If your jeans don't fit around the end of your machine you can still sew them just be sure to hold the bottom out so you don't catch it. I ended up doing that on this pair but it is hard to get a picture of me actually doing it when I am the one taking the pictures.
Once you have sewn all the way around your jeans should look like this.
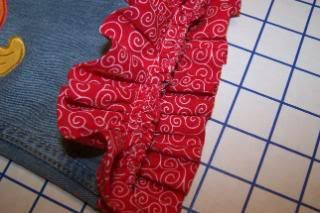
Make sure you used a backstitch at the beginning and end of the ruffle when attaching. You don't want any unruffling to take place.
Then you can serge the edge. I tend to make sure that the ruffle flips down correctly before serging. If you don't own a serger a zigzag will do. Just stitch all the way around the pant bottoms.
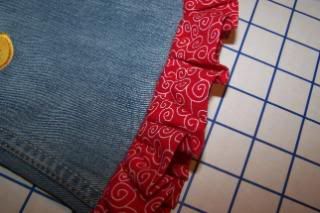
This is what the ruffle looks like when flipped down.
Here is a picture of one ruffle flipped down and the other flipped up.
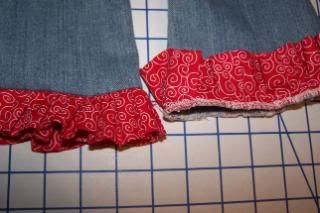
At this point iron down the ruffle.
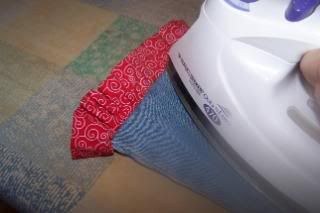
And then topstitch.
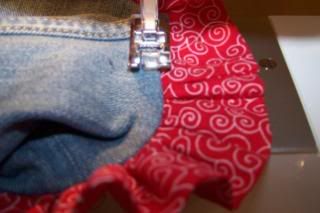
Make sure while topstitching that you are catching the top part of the jean and ruffle.

And here is your finished ruffle.
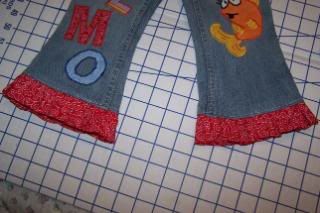
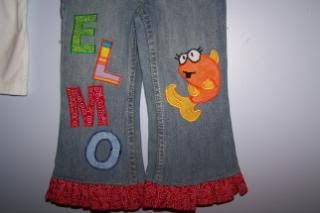
Nice, neat and not flipping up!
Hopefully I didn't over explain how to do it. It really is quite simple and doesn't take that long at all. I have never had a piece of dental floss break so I stick with this method!

8 comments:
Great tutorial Jessica. I've used a similar method, but for some reason I've never used dental floss and you've given me a few other good ideas. Thanks!
I also love the dental floss method. I think it works fantastic!!! Great tutorial Jessica! It is so thorough!!
excellent job. really thorough. i cant wait to try it
The dental floss method is my favorite! I usually use a really thick thread I have, but it's the same type of thing. Great tutorial!
Very helpful! Thanks Jessica! BTW, that is the cutest Elmo outfit!
Oh, thank you! This makes much more sense with pictures!
Glad it has been helpful! I really think it is the easiest way. Although if I wasn't so afraid of the thread breaking just basting I guess would be super simple too!
Cathy, Elmo was one of the first outfits I ever made Dallas. I am still not sure if it was that or a fall pair of overalls but this outfit is based on it and I just love looking at it. Dallas' were overalls but the same idea.
Thank you these were great instructions, not to wordy at all.
Post a Comment